First of all…
… Thank you for landing here and helping us to improve the user documentation of Odoo.
Edit an existing page
- As our documentation is maintained on GitHub, you’ll need a free GitHub account.
- Pick a page in our user documentation. Please take care of choosing the right version of Odoo.
Click on Edit on Github in the left menu.

- If this is the first time you edit our documentation, click on Fork repository, else you won’t see this step.
Use Github’s editor to add your text. Text is tagged with a simple syntax called RST. Don’t worry, it’s not so hard to learn 🤓… See the following section of this document for a quick overview of RST commands.
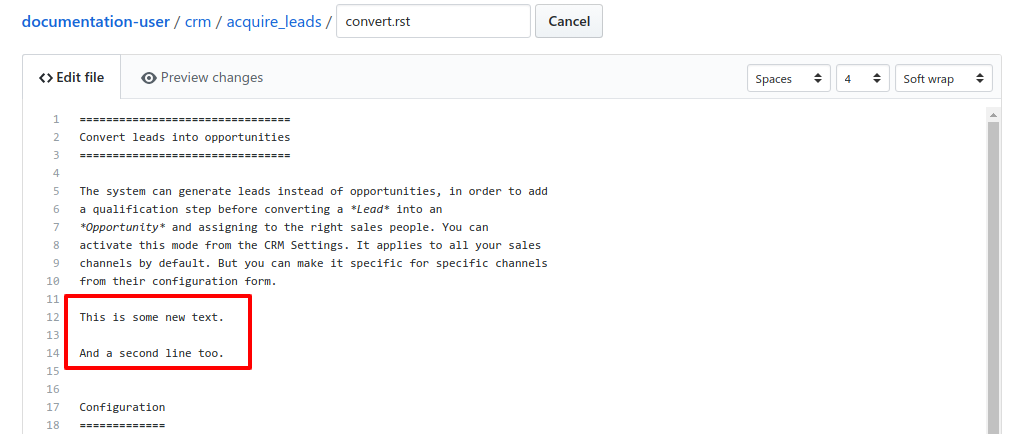
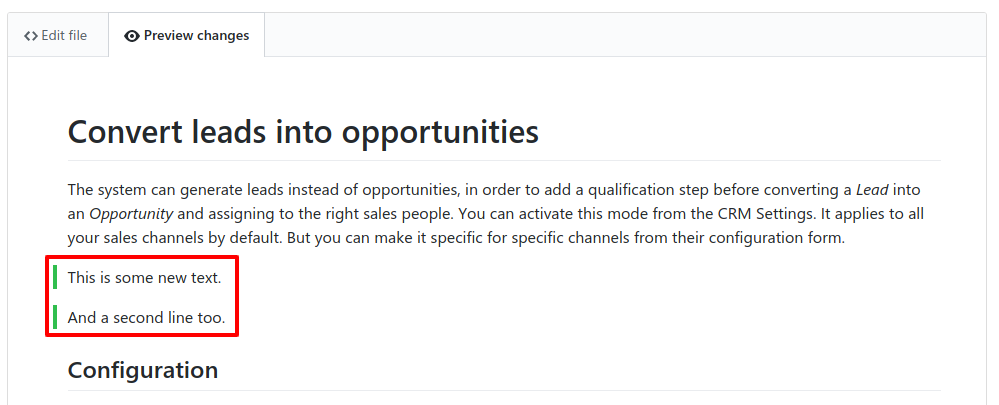
Click on Preview changes to review your contribution in a human-readable format.
In the Propose file change section, add a short title to your contribution. The title should summarize your changes. You may use the second box to add an extended description if your contribution requires a longer explanation.
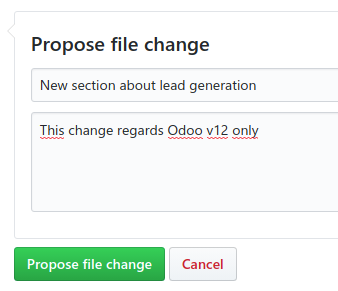
- Submit your contribution by clicking on Propose file change.
- Click on Create pull request.
- Wait for an Odoo maintainer to add your contribution. Thank you for your help!
Warning
There is no automatic port of your edit to another version of the documentation.
If your change should apply to multiple versions of Odoo, please warn us in your contribution message.
RST Cheat Sheet
Here is a summary of the markup elements you may use while editing our documentation.
| Code | Display | Comments |
|---|---|---|
Text in *italics*
| Text in italics | |
Text in **bold** letters
| Text in bold letters | |
1. Numbered
2. Bullet
3. List
|
| Must be surrounded by white lines. |
- Bullet
- Point
- List
|
| Must be surrounded by white lines. |
This is `a hyper link
<https://www.odoo.com>`_.
| This is a hyper link. |
|
Note
There are many more commands available, see comprehensive documentation of RST.
Add images to your documents
Warning
This procedure is possible only for users who have push access on the documentation repository (eg: mainly, Odoo maintainers). We are working on improving this.
First of all, prepare your screenshots.
- They must be good-quality PNG images.
- Crop your screenshots to display only the relevant part of the screen. Large screenshots are hard to read and don’t display well in a documentation.
- Always take your screenshots on a demo instance of Odoo; never include any personal data.
- Upload them to the
media/directory which is located next to the page you are editing. If the directory does not exist, create it. When editing your page, use this code piece in order to load your image:
.. image:: ./media/your_image_file.png
   :align: center
   :alt: Text that is displayed when your image is not available (eg: for screen readers and other accessibility tools)
- Submit your changes
Technical Details for Nerds
Advanced users may, of course, fork and clone the GitHub repository. Then submit a pull request with the canonical Git/GitHub workflow.
See our README file about building the documentation.
Developer documentation
Documentation that targets developers of Odoo apps is maintained alongside the source code of Odoo.
Note
User documentation might contain technicalities yet, when they are related to configuration and everyday use of Odoo.
Last revision of this page: 2019-10-26