In many companies, it is necessary to assess the received good. The goal is to check that the products correspond to the quality requirements agreed with the suppliers. Therefore, adding a quality control step in the goods receipt process can become essential.
Odoo uses routes to define exactly how you will handle the different receipt steps. The configuration is done at the level of the warehouse. By default, the reception is a one-step process, but changing the configuration can allow having 3 steps.
The 3-steps flow is as follows: You receive the goods in an input area, then transfer them into a quality area for quality control. When the quality check has been processed, you can move the goods from QC to stock. Of course, you may change the quantity and only transfer to stock the quantity that is valid and decide that you will return the quantity that is not good.
Multi-Step Routes
First, you will need to activate the multi-step routes option. Indeed, routes provide a mechanism to chain different actions together. Here, we will chain the picking to the shipping.
To activate multi-step routes, open the inventory app, and go to Configuration > Settings and activate the option. By default, activating multi-step routes will also activate Storage Locations.

Warehouse configuration
Now that Multi-Step Routes is activated, go to Configuration > Warehouse and open the one you will use to deliver in 3 steps. Then, you can select the option Pack good, send goods in output and then deliver (3 steps) as Outgoing Shipments.
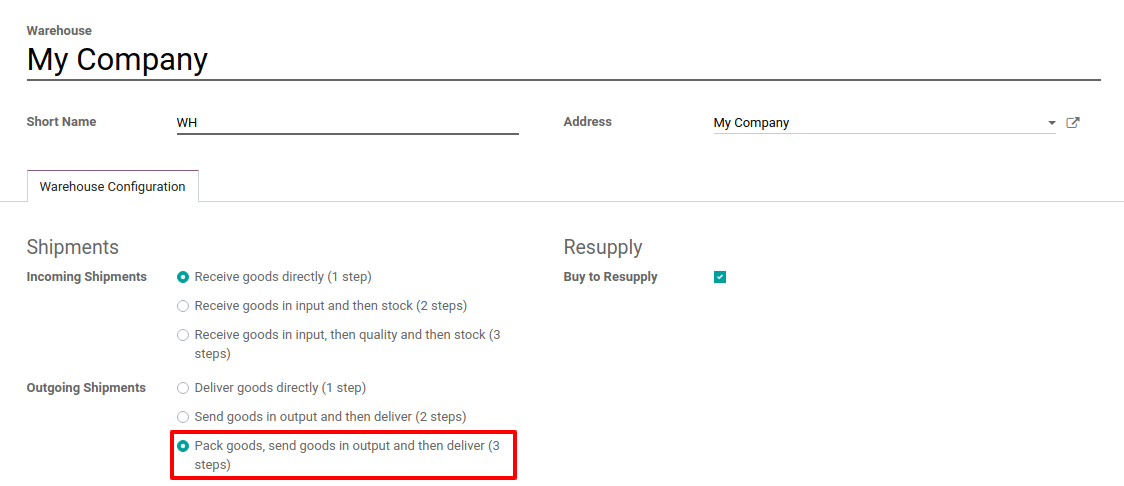
Activating this option will lead to the creation of two new locations, Output and Packing Zone.
Of course, you can rename them if you want. To do so, go to Configuration > Locations and select the one you want to rename. Change its name and hit save.
Create a Sales Order
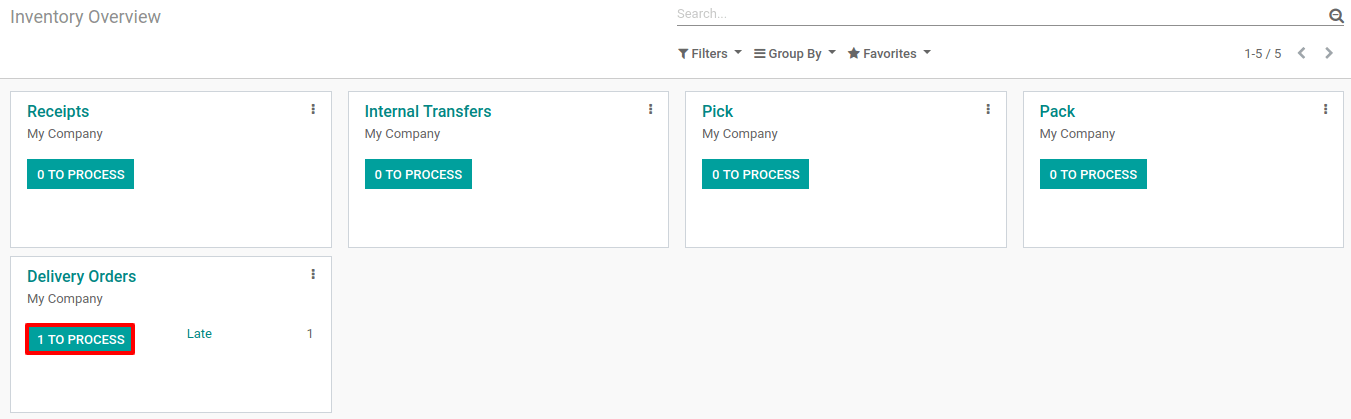
In the Sales app, create a quotation with storable products to deliver. Then, confirm it and three pickings will be created and linked to your sale order.

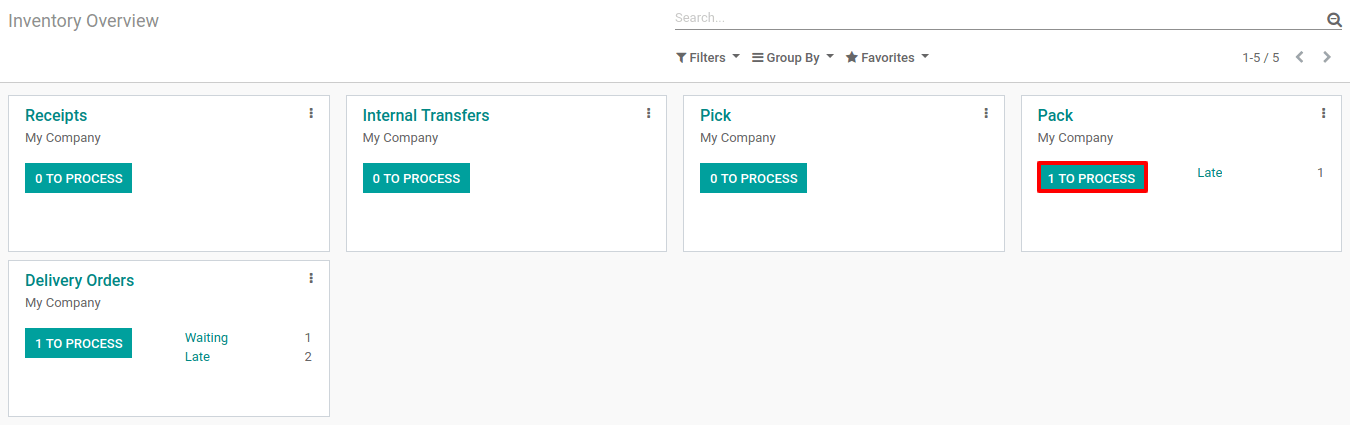
Now, click on the button. You should see three different pickings:
- The first one, with a reference PICK, designates the picking process;
- The second one, with a reference PACK, is for the packing process;
- The third one, with a reference OUT, designates the shipping process.

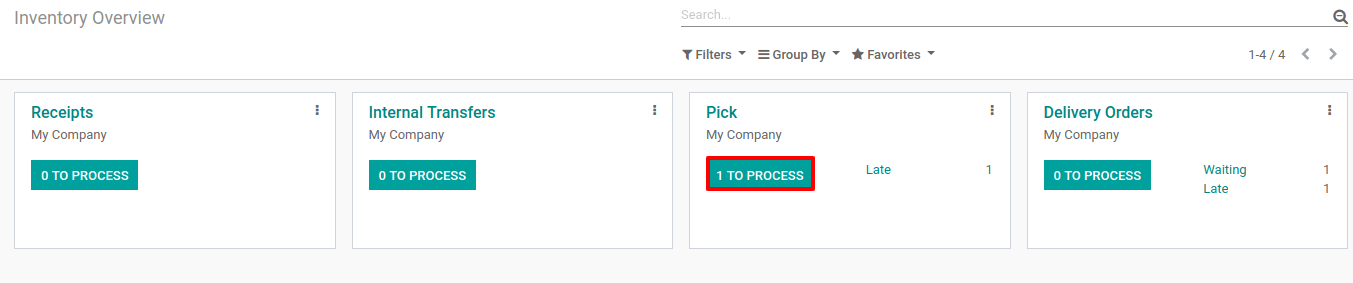
Process the picking, packing, and delivery
The first operation to be processed is the picking and has a Ready status, while the others are Waiting Another Operation. The packing will become Ready as soon as the picking is marked as Done.
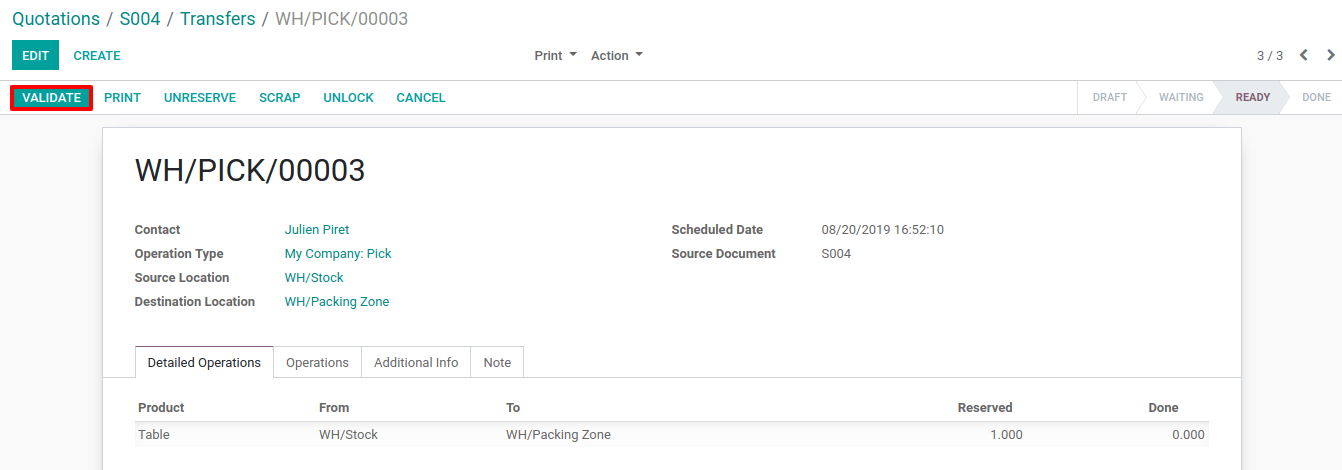
You can enter the picking operation from here, or access it through the inventory app.
Note that, if you have the product in stock, it will be automatically reserved and you can validate the picking document.
Now that the picking has been validated, the packing order is ready to be processed. Since the documents are chained, the products that have been picked are automatically reserved on the packing order so you can directly validate it.

Then, you can validate your packing. In doing so, the delivery order can be processed. Once again, it will be ready to be validated so you can transfer the products to the customer location.